Today's post is dedicated to the henna process. Henna has some wonderful benefits, and these include:
- Shiny, more manageable hair
- Less breakage and splitting ends
- Smoother texture
- A slight reddish/ brown hair tint (depending on your natural hair color) in the sun and other lit areas
Now, I have been applying henna to my hair for the past three years. I typically henna my hair once every three months. In this post, I show you the steps I take to prepare my henna, the process of how I henna my hair, and my post-henna treatments.
The morning of...
I prep my henna mixture. I use the following products/ingredients start with :
Jamila Henna, can be purchased online or at your local indian grocery store

8 drops of Real Lemon 100% Lemon Juice

3/4 cups of water

Steps to Create Mixture:
1. I start by pouring the Jamila Henna in a plastic tupperware bowl (specifically used for henna and henna only).

2. I add 8 drops of lemon juice to the henna. Lemon juice has lightening agents for hair. In the past, I have added honey to provide additional moisture. Additionally, I have also added conditioner to my henna to create a henna gloss. I received this idea from Henna for Natural Hair. There are multiple ways to mix henna and this article provides a great overview.

3. I add 3/4 cups of water to the henna and lemon juice.

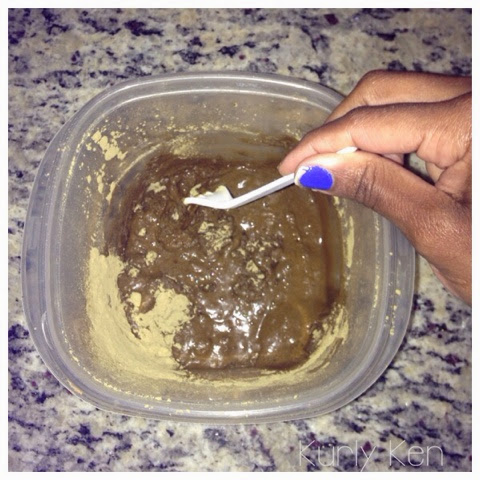
4. Then I use a plastic utensil and begin to stir the products/ingredients together.

Initially, the mixture is watery, but as stirring continues, the mixture will thicken, which is normal.

6. I cover my mixture with a lid.

7. I then take the henna mixture and place by the window so the heat can allow the dyes in the henna to release. The henna mixture sat by the window for 9 hours (while I was at work).

Once I shampooed my hair using Naturally Athena Goddess Clay Cleanse, I untwisted each section of hair, applying the henna to each section.

This is how my hair looked once the henna was applied.


I covered my hair with a plastic bag for three hours. After three hours, I rinsed with warm water. Then I conditioned my hair for 30 minutes with Naturally Athena Goddess Conditioner. It's important to condition your hair after you complete the henna process. Henna almost reminds me of a protein treatment, strengthening the hair strands. Like a protein treatment, it can also cause your hair to be a little dry. Therefore, conditioning the hair is a must after a henna application. Following my conditioner application, I then moisturized my hair with Naturally Athena Goddess Curl Creme to prepare my hair for box braids.
24 hours of braiding later...

Until next time,
Be faith-filled, fearless, and fabulous,
Kurly Ken


